

How To Remove Coaster Brake
"We hope you honey the products nosotros recommend! When y'all buy through links on hoodmwr.com, Every bit an Amazon Associate I earn from qualifying purchases."
Bikes that become too outset may demand excessive force per unit area to bring to a halt. Therefore, it is neither sensible or dependable to rely on the paw brakes alone. They may non ever deliver the pressure sufficient to fully grind the whole wheel to a stop. That calls for reinforcements, often in the shape of the coaster brakes. The coaster brakes are specific sorts of brakes that connect to the back wheels of the normal cycle. Different the mitt brakes, they are applied by the application of pressure on the bikes' pedals instead of easily.
Though these brakes are crucial to the effectiveness of the bike, they may non always be required all the time. Indeed, upon outliving their usefulness,
Table of Contents
- How to Remove Coaster Brake?
- Step 1. Get together the Essentials
- Step two. Set up the Working Area
- Step 3. Make the cycle standstill
- Stride 4. Set the Bicycle Appropriately
- Step 5. Bring in the Wrench
- Stride 6. Remove the Dust Encompass
- Footstep 7. Remove the Brake Shoes
- Stride 8. Remove the Cone
- Step 9. Take out the sleeve and clean the hub
- Stride x. Install the New Sleeve
- Step 11. Put Everything Back Together
- Why Remove the Coaster Brake?
- What Tools Practise Yous Need to Prepare to Remove the Coaster Brake?
- FAQs
- How long to remove the coaster restriction?
- What best mode to remove the coaster brake?
- When to remove the coaster brake?
- What are the best tools to remove the coaster brake?
- Are coaster brakes bad?
How to Remove Coaster Brake?
At that place are only a limited amount of ways to achieve this task. Y'all tin do it manually, or you can buy one of those interesting circular saws instead of trying to utilise the force of your hands. Here are some means to remove the coaster brake:
Step 1. Gather the Essentials

Starting time things offset, yous have to collect together the things that are necessary to become it washed. Put out something that will act as a brake to forestall the rear wheel from turning abruptly. Next, put on some safe gear for your trunk. This tin can include gloves, goggles, hard hats, and other protection devices. Other necessary items include screwdrivers, adjustable spanner wrench, and pliers, amidst others.
Step 2. Set the Working Area
To brand things easy on yourself, you have to organize the work area. Showtime by putting downwardly a soft layer of cloth on the flooring. This will protect your skin from coming into direct contact with the pedals. In improver, it volition go on the pedals from moving around while you are working on them. To avert accidents, you also have to clear any objects that might go far your way while working with the cycle.
Step 3. Make the bike standstill

If you are going to exist working on the cycle by yourself, you lot have to brand sure that the bicycle is still. This means turning information technology so that instead of being angled toward the rear, it is at present upright. Some bikes have a locking machinery called a parking restriction. This tin can be put into use by looking for a button on the handlebars. When pressed, it will hold the wheel in identify until you are done with your work. If it does not have one, you tin can still utilise the U-lock to provide the same functionality.
Step 4. Set the Bike Appropriately
Removing the coaster brake might exist problematic at this point. To get that job done right, you take to pay attention to how it is installed. There are a lot of models in the market, and it has been proven quite a challenge to determine the appropriate position for each one of them. Yous can endeavor looking at a piddling diagram in the manual or asking somebody who has feel with them what they would recommend. Once y'all figure out the best position, you can then utilize the adaptable spanner wrench to secure it into that position. Set the back bicycle on your lap in order to achieve this. When in this position, elevate the coaster restriction arm to 4 o'clock and place it there. This is the all-time position since you lot may safely and comfortably affect the whole wheel'due south length and width from this position.
Step five. Bring in the Wrench
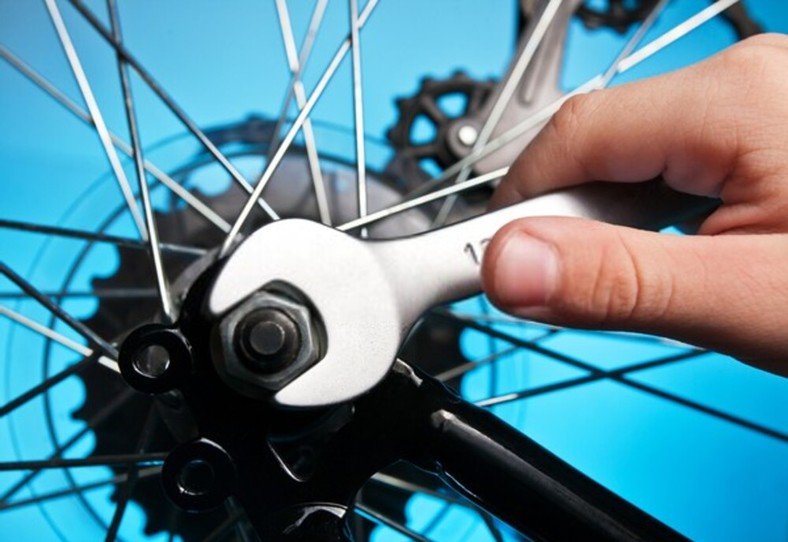
Once you have secured the coaster restriction into position, you can proceed to connect the adaptable spanner wrench to the nuts at the back of the bike. This will allow you to use pressure to both basics. Fifty-fifty with prophylactic precautions, at that place is no guarantee that everything will turn out well. That is why it is important that you identify your hands on the floor beside yous for safety purposes.
Step six. Remove the Grit Encompass
A dust comprehend is located at the top of the coaster restriction. An important role of their chore is to go along out grit and other potential sources of harm or degradation. A wrench is usually required to remove the grit cover's locknut. The cone screw should be used kickoff, followed by the little ball retainer to fully loosen. The restriction may now exist accessed immediately without having to remove the lid. Lift the hub's shell from the assembly later on this. Continue an eye on the coaster's brake shoes while you do this to ensure they don't come off.
Step 7. Remove the Brake Shoes
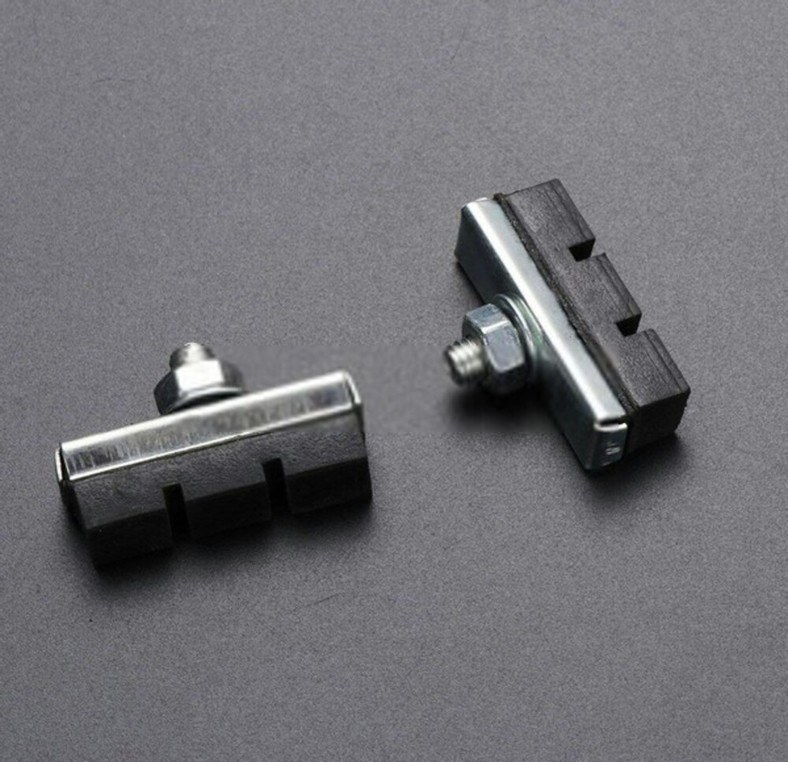
Afterward the dust cover has been removed, you tin meet the brake shoes in place. These are cone-shaped pieces of metalwork that are attached to the rear wheel of the bike. You lot should not try to lift them out to accept them out only rather use pliers to twist them off. This requires that whatever strength given past the pliers is used by turning them into an arc. To get the brake shoes off, you will need to use pliers to twist them off. This requires that whatever force given by the pliers is used past turning them into an arc.
Pace 8. Remove the Cone

Once you accept removed the brake shoes, you can now movement on to removing the cone. This is not washed using pliers but rather by using your hands. The cone has a small metal shim that helps it to fit into place in the hub assembly. Y'all will need to accept this out past pinching it out of position with your hands or advisedly lifting it with a screwdriver.
First, prepare what is left of the coaster brake mechanism on your lap. You should then use a wrench to unscrew a small locknut at the top of it. The next thing you need to exercise is use a cone screwdriver and an boosted modest brawl retainer to undo it completely. In one case this has been done, lift out the shell while communicable the restriction shoes before falling off.
Step 9. Take out the sleeve and make clean the hub
Now is the time to take out the sleeve. This is washed by using a cone wrench and turning it clockwise until it has been removed from the assembly. In addition, you tin as well use a screwdriver to pry information technology out of its position. Make sure that you keep an eye on its position to replace it with another one if needed.
Footstep x. Install the New Sleeve
Replacing the coaster restriction sleeve will crave that yous install a new i. This is done by pushing it into the associates until it is pressed confronting the small metal shim. Y'all tin can help it forth by putting pressure on its top with your hand or fingers. This volition arrive easier for you to fit into a position without having to utilise annihilation else.
Step 11. Put Everything Back Together
The final stride in removing the coaster restriction is to put everything dorsum together. This means following the steps in reverse order. Starting time, first past pushing the cone dorsum into identify. Adjacent, you lot can put the cycle back together past installing the restriction shoes, cover, and cone using the screwdriver. Now you can go on to put on or tighten your cycle nuts using your adjustable spanner wrench. As you practice so, you should start with the wheel closest to your bike'due south frame and work your way outwards to minimize the chances of accidents.
Once you accept tightened the wheel basics, secure the wheel into place with the cycle lock using your U-lock. After this, gear up the adjustable spanner wrench on top of the wheel hub. This will ensure that you can at present safely place your bike onto its kickstand or stand. It is all-time to concur onto the bike by resting one hand on either side of information technology so that you can carefully measure where to drop information technology.
Why Remove the Coaster Brake?
The coaster brake is an extremely efficient, reliable braking system based on the idea of using 2 artillery to exert pressure on the rear bicycle. There are various benefits to information technology, such every bit reducing unnecessary route-noise, increasing stopping power, and making it easier for you to ride. Information technology is also an inexpensive culling to many other types of braking systems.
Still, there are instances where yous will want or need to remove your coaster brake, such as:
- Removing a flat bicycle tire. A flat tire can result from a puncture or a loss of air pressure level. In either example, removing the coaster brake will permit yous to replace the flat bicycle tire on your bike without risking your safety.
- A broken part on the rear bike. A loose brake shoe tin can result from a damaged axle or a broken coaster restriction mechanism. This can easily be repaired, only you will demand to remove it first before y'all keep.
- It is used as a substitute for a front and rear brake. If yous want to replace both brakes with coaster brakes, then get ahead and go along with this. However, there are instances where sure states or countries will non permit your bike to be ridden with just one braking system. In such a example, you can remove any coaster brake y'all may have.
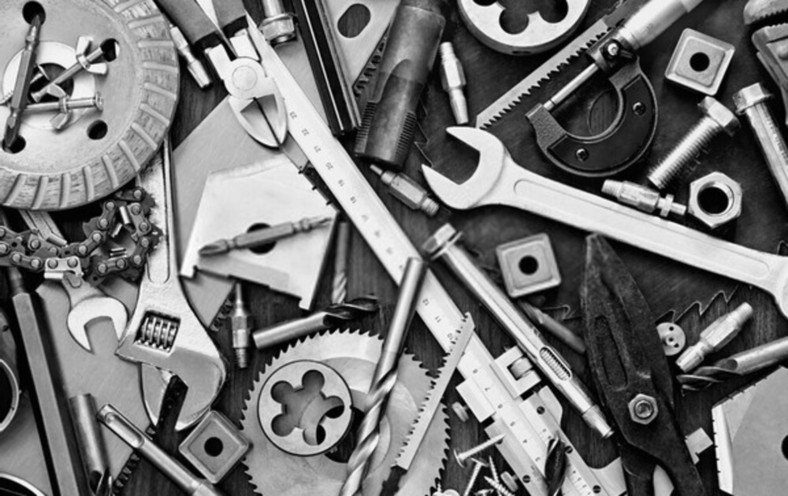
- Adjustable spanner wrench: to tighten or loosen your wheel nuts. This is a heavy-duty tool that can assist you attach the nuts quickly and securely.
- Cone wrench: remove the cone from your bike'due south hub assembly. This is a cone-shaped wrench that will allow you to unscrew the bolts holding the coaster brake onto its hub assembly.
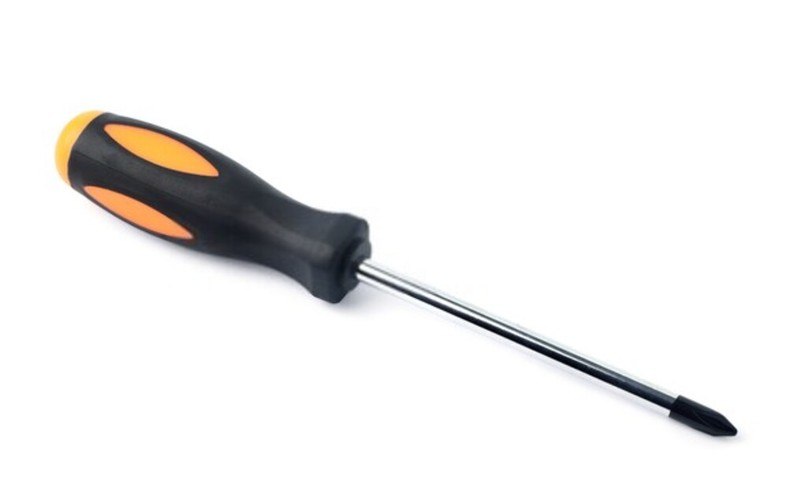
- Screwdriver: to fit screws into their corresponding holes to concur the brake shoes in place.
- Hammer: to tighten the nuts by striking them with the hammer's flat end. This will make sure that they are securely fastened.
- Pliers: to hold onto the cone while twisting it out of position. It is useful if y'all are having difficulty doing this using your easily alone.
- Pry bar: to pry out broken parts of your bicycle's rear-bike hub assembly.
- U-lock: secure your bike with a concatenation and padlock if information technology has broken parts that have fallen off.
- Cone spiral and ball retainer: to join together the parts of your coaster brake mechanism.
- Small castor: to clean your bicycle's hub assembly.
- Small apartment-bladed screwdriver or a knife: pry out the metal shim used to help with coaster brake installation.
- Can of spray lubricant: to ease the movement of your bike'due south coaster brake mechanism.
- Large flat-bladed screwdriver: for removing and replacing flat bicycle tires.
- Prophylactic mallet: used to strike parts that are stuck together with your cycle's beam or hub assembly.
- Pliers or wrench for removing the restriction shoes: to allow you to pull them out without risking any injury.
- Container for holding or storing your wheel parts: to forbid them from getting lost.
FAQs
How long to remove the coaster brake?
Based on the type of bicycle yous accept, information technology tin exist anywhere from one to iii hours. Each will have a slightly different amount of fourth dimension required to get it off. As for removing a hub, yous volition have to accept it apart from the rim and from the spokes. This means that y'all should allow somewhere around four and a one-half hours in society for everything in the wheel to be replaced in proper club.
What all-time style to remove the coaster brake?
This is a personal preference question. There are many means that you can get the job washed speedily. Start, you tin can get a hand tool that has been specifically designed to remove the cone from the rim and spokes of a wheel. This will require all of your attention and time while you piece of work through it. Another method is to use a pocket-sized sledgehammer and a large hammer to carefully pound the cone out of place until it has been removed from both wheels.
When to remove the coaster brake?
Under normal circumstances, removing the coaster restriction can be done anytime. The optimum time to do this is in the summer when the metallic pieces are less prone to rust.
What are the all-time tools to remove the coaster brake?
The best tools you lot will need for removing whatever part of your bicycle are adaptable spanner wrenches and a hammer. You tin also cull to employ a big set of pliers if they are bachelor.
Are coaster brakes bad?
The best mode to remove the coaster restriction is to utilize a screwdriver. All you need to do is unscrew the threaded metal rod attached with the pin and brawl retainer to the rim'south axle. The downside of removing your coaster brake past yourself is that there can be more parts for you to lose. It will be tough to put your bicycle dorsum together if you lot exercise not have all of these components.
Source: https://www.hoodmwr.com/how-to-remove-coaster-brake/
0 Response to "How To Remove Coaster Brake"
Post a Comment