

How Much Plaster To Patch 4x3 Repair
Planning & training
- A wall can become damaged for many reasons, but luckily conveying out repairs is relatively straightforward. Hither we will testify y'all how to patch repair a wall, as well equally how to repair small and large holes in plasterboard
- Bear in mind that the awarding method tin vary between products, so information technology'due south always best to check the manufacturer's instructions
- There are many unlike fillers and plaster products available, so be sure to consider the range and select a production that is all-time suited to your job. For example, if yous merely need a small amount, yous might find information technology easier to use fix mixed plaster
- Thorough preparation is primal to achieving a high-quality cease, then be sure to remove all traces of quondam plaster, dust and grease for the surface area you plan to repair
- Lay out protective sheets to cover the floor and any nearby piece of furniture
- Plow the radiators off in the room so the plaster doesn't dry out as well quickly
- Some plaster products shouldn't exist applied to a depth of more than the 12mm in one go. If this is the example, you lot may need to brand two or more applications
- Most plasterboard comes in either 9.5mm or 12.5mm thickness, so attempt to supervene upon like-for-similar when making repairs
- Have a saucepan of h2o to hand when working so you can clean your trowel as you demand to; this will help to avoid lumps and unnecessary work
- For more than advice, see our online guides or leaflets 'How To Plaster a Wall' and 'How To Prepare Walls & Ceilings for Decorating'
Do information technology correct
- When working with plaster, it's all-time to just work with small amounts on the hawk and trowel. Try to build up a rhythm so you can embrace the patch repair before the plaster starts to set
- Plaster can dry out quickly, and then don't mix up to too big a quantity at any one time
Staying prophylactic
- If sanding plaster or cutting plasterboard, exist sure to wear goggles and a dust mask and attempt to piece of work in a well-ventilated space
- Always utilise a cable, piping & stud detector before cut or sawing into areas you're repairing
- When mixing or applying plaster, wear safety goggles, a dust mask and protective gloves
Aftercare
- Allow the plaster to dry naturally, so avoid putting your heating on high for a few days
- To prepare the surface for painting, sand with a fine grade sandpaper
- If you are planning to paint the wall, it'due south a good idea to apply a sealer or primer paint to help your finishing paint to adhere
Patch repair plaster to solid walls
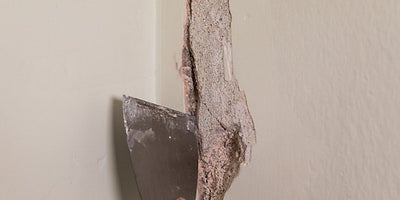
Remove whatsoever damaged or loose plaster with a scraper. Then, use a wire brush to clean the area.
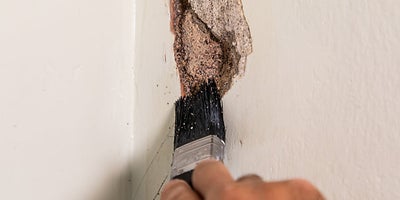
Thoroughly dampen the surface surrounding the repair with a mix of PVA glue and water.
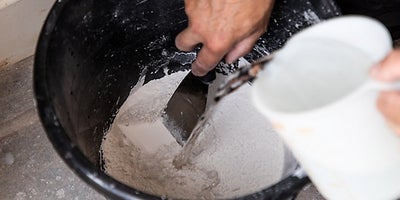
Post-obit the manufacturer's instructions, mix the quick-drying patch plaster.
Using a plastering trowel, transfer a section of plaster to the plasterer'south hawk.
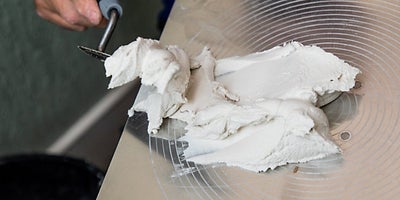
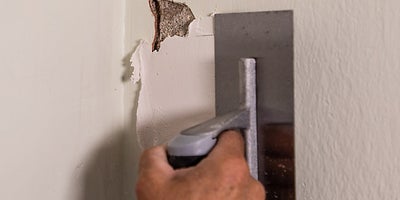
Cut a small department of plaster onto the plastering trowel and utilise to the repair with vertical and horizontal movements. Press firmly to piece of work the plaster into the damaged expanse.
Following the manufacturer'due south instructions, leave the plaster to dry. One time the plaster is dry out, utilize a spray gun or paint brush to dampen the surface with clean water.

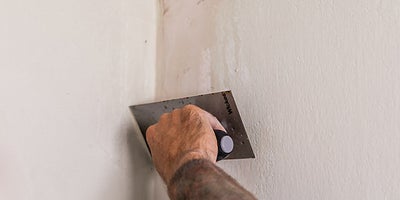
Using the edge of a make clean trowel, work across the plaster repair to smooth the finish. Repeat this procedure if advised by the manufacturer.
Repair small holes in plasterboard
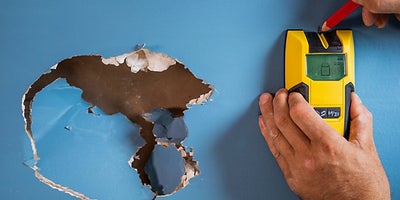
Check the surface area around the repair with a cablevision, pipe & stud detector to brand sure it's safe to cut through the old plasterboard.

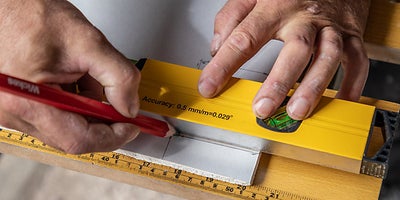
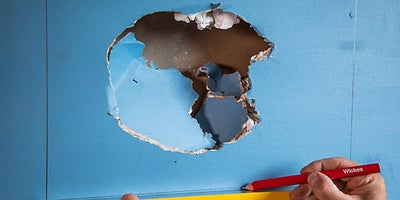
Measure the hole then clearly mark the measurements onto a piece of plasterboard offcut.

Add together an extra 25mm at the superlative and lesser, and so cut the offcut to size with a plasterboard saw or retractable knife.
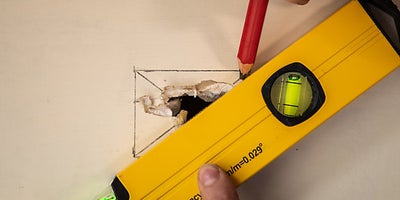
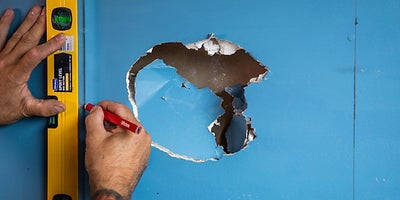
Using a pencil and straight border, mark the original measurements (without the additional 25mm overhangs) onto the wall.
Draw diagonal lines from the pigsty into each corner. Then, apply a plasterboard saw to cut along the diagonal lines.
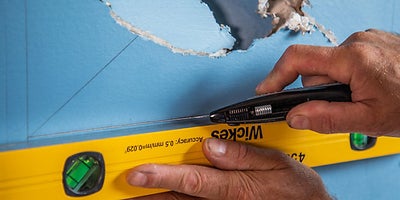
Using a retractable pocketknife and straight edge, score the plasterboard along the guide marks and remove the excess plasterboard.
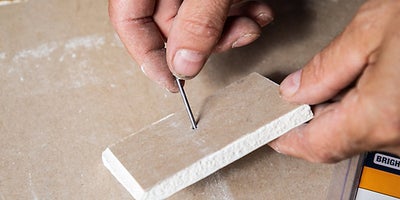
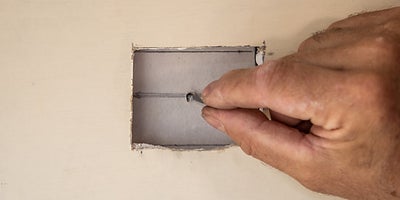
Drill a hole that is big enough to easily accommodate a boom into the centre of the plasterboard offcut. And then identify a blast into the hole.
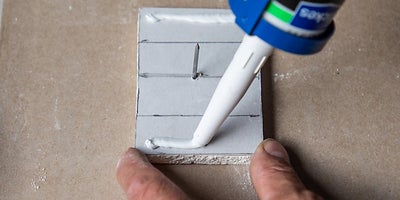
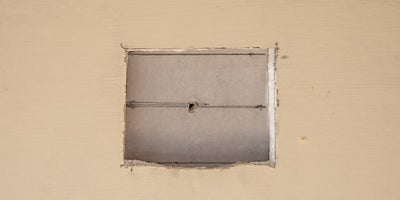
Apply a bead of grab agglutinative to the 25mm overhang at the top and bottom of the offcut and carefully slide the offcut through the hole and into position.
Pull the nail towards you to create a strong bond betwixt the adhesive and the plasterboard. Don't allow become of the smash until the adhesive has bonded. Allow the adhesive to dry fully before continuing.
Once the adhesive has dried, push the nail out so it falls behind the plasterboard.
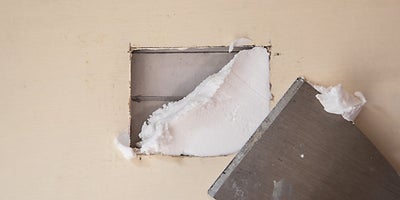
Mix and apply the repair plaster or gear up mixed filler. Apply to the hole with a flexible filling pocketknife, working both vertically and horizontally and ensuring you lot fill the hole until level with the plasterboard.
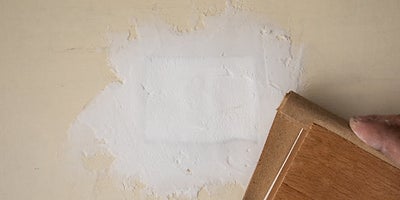
When dry, use medium class sandpaper and sanding block to create a polish, level finish.
Repair large holes in plasterboard
To make sure it'southward safety to work, check effectually the repair expanse with a cable & pipe detector.

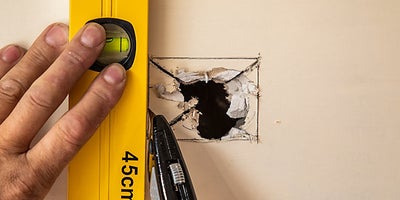
Use a stud detector or place a metal ruler inside the hole to locate the position of the studs on both sides. Marker roughly where the centre of the studs are onto the plasterboard wall.
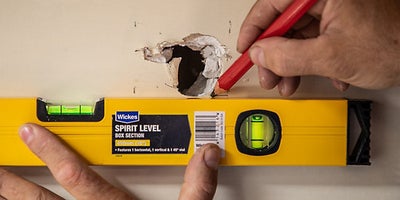
Using a directly border or spirit level, extend the marks and depict vertical lines that run higher and lower than the damaged area.
Then, depict horizontal lines 50mm above and beneath the damaged area, so they bring together to the vertical lines and create a rectangle.
Mark diagonal lines into each corner and cutting along them with a plasterboard saw.

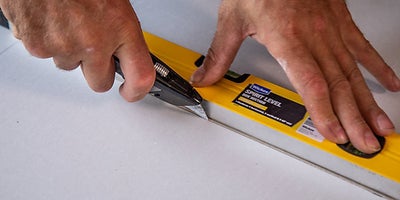
Use a retractable knife and directly edge to score along the horizontal and vertical lines so you tin remove the entire damaged area.
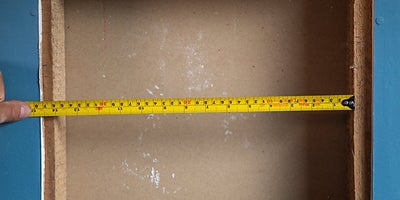
Mensurate the altitude between the two studs and cutting ii lengths of batten to size.
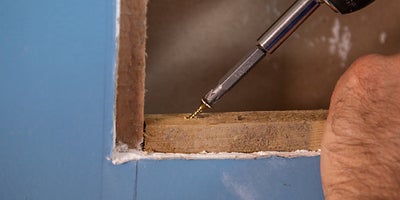
First, drill the pilot holes. And so, using a combi-drill, secure the batten in position by skewing 40mm screws through the crossbar and into the studs to create support noggings at the top and bottom of the hole.
Carefully measure and cut a department of plasterboard to fit the space.
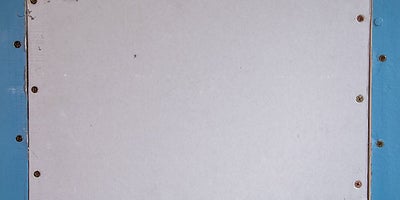
Attach the section of plasterboard to the studs and noggings with 32mm drywall screws.
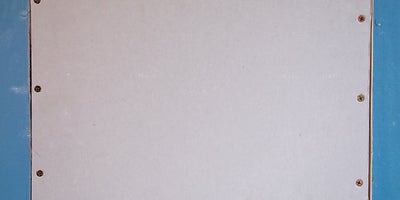
Then, secure the original plasterboard to the studs and noggings with 32mm drywall screws.
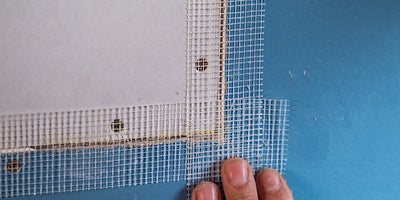
To assistance make the seam invisible and to prevent future cracking, carefully use jointing record, so that the tape overlaps the join.
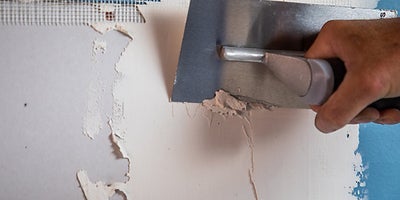
Following the manufacturer's instructions, mix the finishing plaster. Utilize information technology with a plasterer's finishing trowel, ensuring all the jointing tape is covered.
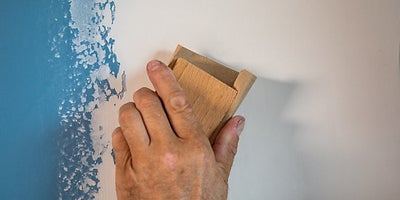
Allow to dry and then use medium grade sandpaper and a sanding block to create a smooth and level surface.

Source: https://www.wickes.co.uk/how-to-guides/home-maintenance/repair-a-wall
Posted by: clarkpliteruning.blogspot.com
0 Response to "How Much Plaster To Patch 4x3 Repair"
Post a Comment